A seed was planted...
I'd looked online at Amazon and considered buying a wood duck house or two, but recently remembered that I had a bunch of milled cedar boards in our one of our barns that came from the big cedar tree that stood next to the old house..
 |
| The cedar tree is to the right of the house. It had a very large trunk and was in the way of construction. |
The tree was taken down as we were tearing down the old house and putting up our current one. We asked our contractor to keep as much of the trunk as possible so we could have it milled down into lumber.
Long story short, the pieces we got back from the local sawmill were a hodge-podge of varying widths and thicknesses. Nothing I could really build anything substantial with, like aromatic closet shelving or beautiful cedar furniture. I stacked the wood in the barn and more or less forgot about it...until I wanted a wood duck house.
Prior to the recent New Year I went to MD to visit my mother. My father had an old Dewalt radial arm saw in his workshop that he used for many years on so many different projects. I asked my brother if he wanted/needed/had room for it, he said no, so I brought it back to GA with me.
 |
| It's big, heavy and beastly, but it's more flexible than a Russian gymnast and can cut in any way you can imagine a saw cutting. |
I did some research about how to build a wood duck house and came across plans on Audubon.org and the Wood Duck Society. They looked simple enough. It was time to cull through the cedar boards I had, pick out a few and to get to work.
 |
| These plans are by Don "The Duckman" Helmeke. He was known for perfecting the design of wood duck boxes. These plans are the gold standard. |
I went about cutting my boards according to the plans.
 |
| Everything is cut except the roof. |
The cuts involved making a 15 degree cut to follow the slope of the roof for each side. One side had to have a 45 degree beveled edge to allow for a tight closure on the side with the opening (nest box clean-out).
As I mentioned, my boards were all lengths, widths and thicknesses. The thickness wasn't my main concern as this is cedar so it's not going to rot, though the thinner boards will probably warp a bit over time. My problem was having enough boards at the proper width. I needed enough width over certain lengths and didn't always have it. Several of the boards were about about 1/4" less in width than I needed. I figured that that any wood duck looking for a new house wasn't going to break out the tape measure, so if I was off by a 1/4 inch or so, it shouldn't matter. I managed to be close enough on all my boards.
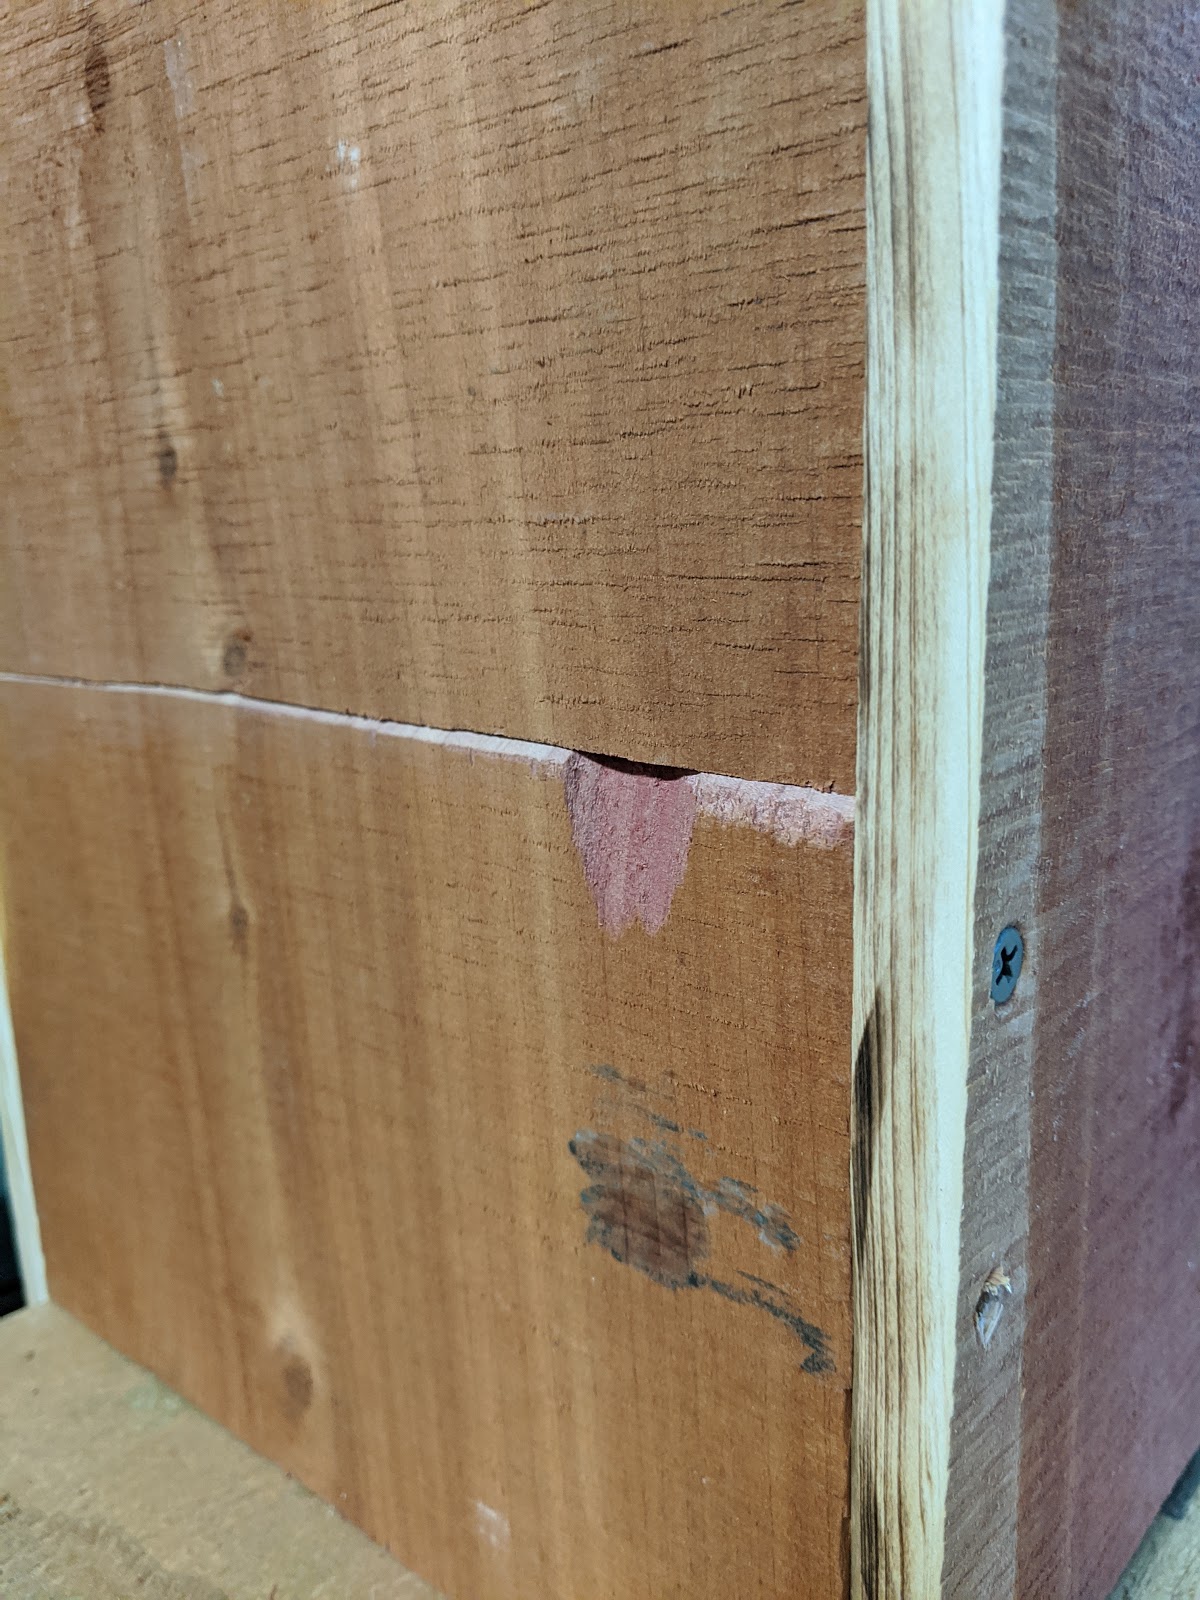
 |
| Ignore the water spot. There was a leak in the barn roof directly above my workbench. |
 |
| The clean-out access with the beveled edge. |
 |
| A small cutout so you can lift the access door open. The dark scratches below are from the chuck of the drill. I call that trial and error. |
 |
| Not the prettiest duck house hole, but it will work. It's supposed to be 4 inches wide by three inches high. It is...just a little lopsided. |
Once I had the main structure put together I had to add the "ladder" for the ducklings. The plans called for 1/4" hardware cloth cut into a 4" x 12" strip and affixed inside, just below the hole. I made sure to trim the ends well to prevent injuries.
 |
| Just enough for their little wood duckling claws to grab hold of. Wood ducks have longer claws on their webbed feet, specifically for climbing trees. |
 |
| The fully assembled Wood Duck House. |
It's not bad for a first attempt with thin, scrappy boards. I must admit that I really love the color of the cedar boards. I know the wood will last virtually forever, but since it is so thin I hope it doesn't warp too badly in the weather. We'll see.
I had a 4" x 4" post and ordered a predator baffle from Amazon. Mounting it was a bit of a task. Neta and I picked out a spot that was away from where we usually walk around and offered enough cover and privacy for wood ducks to find it appealing. I filled the bottom about 4" deep with wood chips. I used a chainsaw to trim the bottom end of the post into somewhat of a point so I could pound it into the soft ground at the edge of the pond. I added the baffle to the post and carried all of my supplies (over several trips, including a step ladder and sledgehammer) over to the spot we picked out.
Once the post was in place I had a hard time balancing the house in one hand and maneuvering the drill/screw with the other so I could fasten it to the post, all while standing on the edge of the pond and trying to keep my feet dry (dry feet mission NOT accomplished). Some quick thinking had me using a large clamp to hold the house onto the post while I put in the top screw. With that done, I lined it up to make sure it was fairly straight (judging by the picture I may have to adjust) and added another screw to the bottom. DONE!
 |
| Getting this picture required wading over my boots around to the other side of the pond. We've had a lot of rain. |
We'll keep you posted about any new tenants. Stay tuned!